
It’s all coming together, finally!
The room is painted, the crib set is bought and ready to go, and we are ordering his nursery furniture and rocker/glider this week. Oh, we’ve even gotten a baby present off of our registry already (shout out Mitch for the Diaper Genie!). It all gets more real with every week that passes.
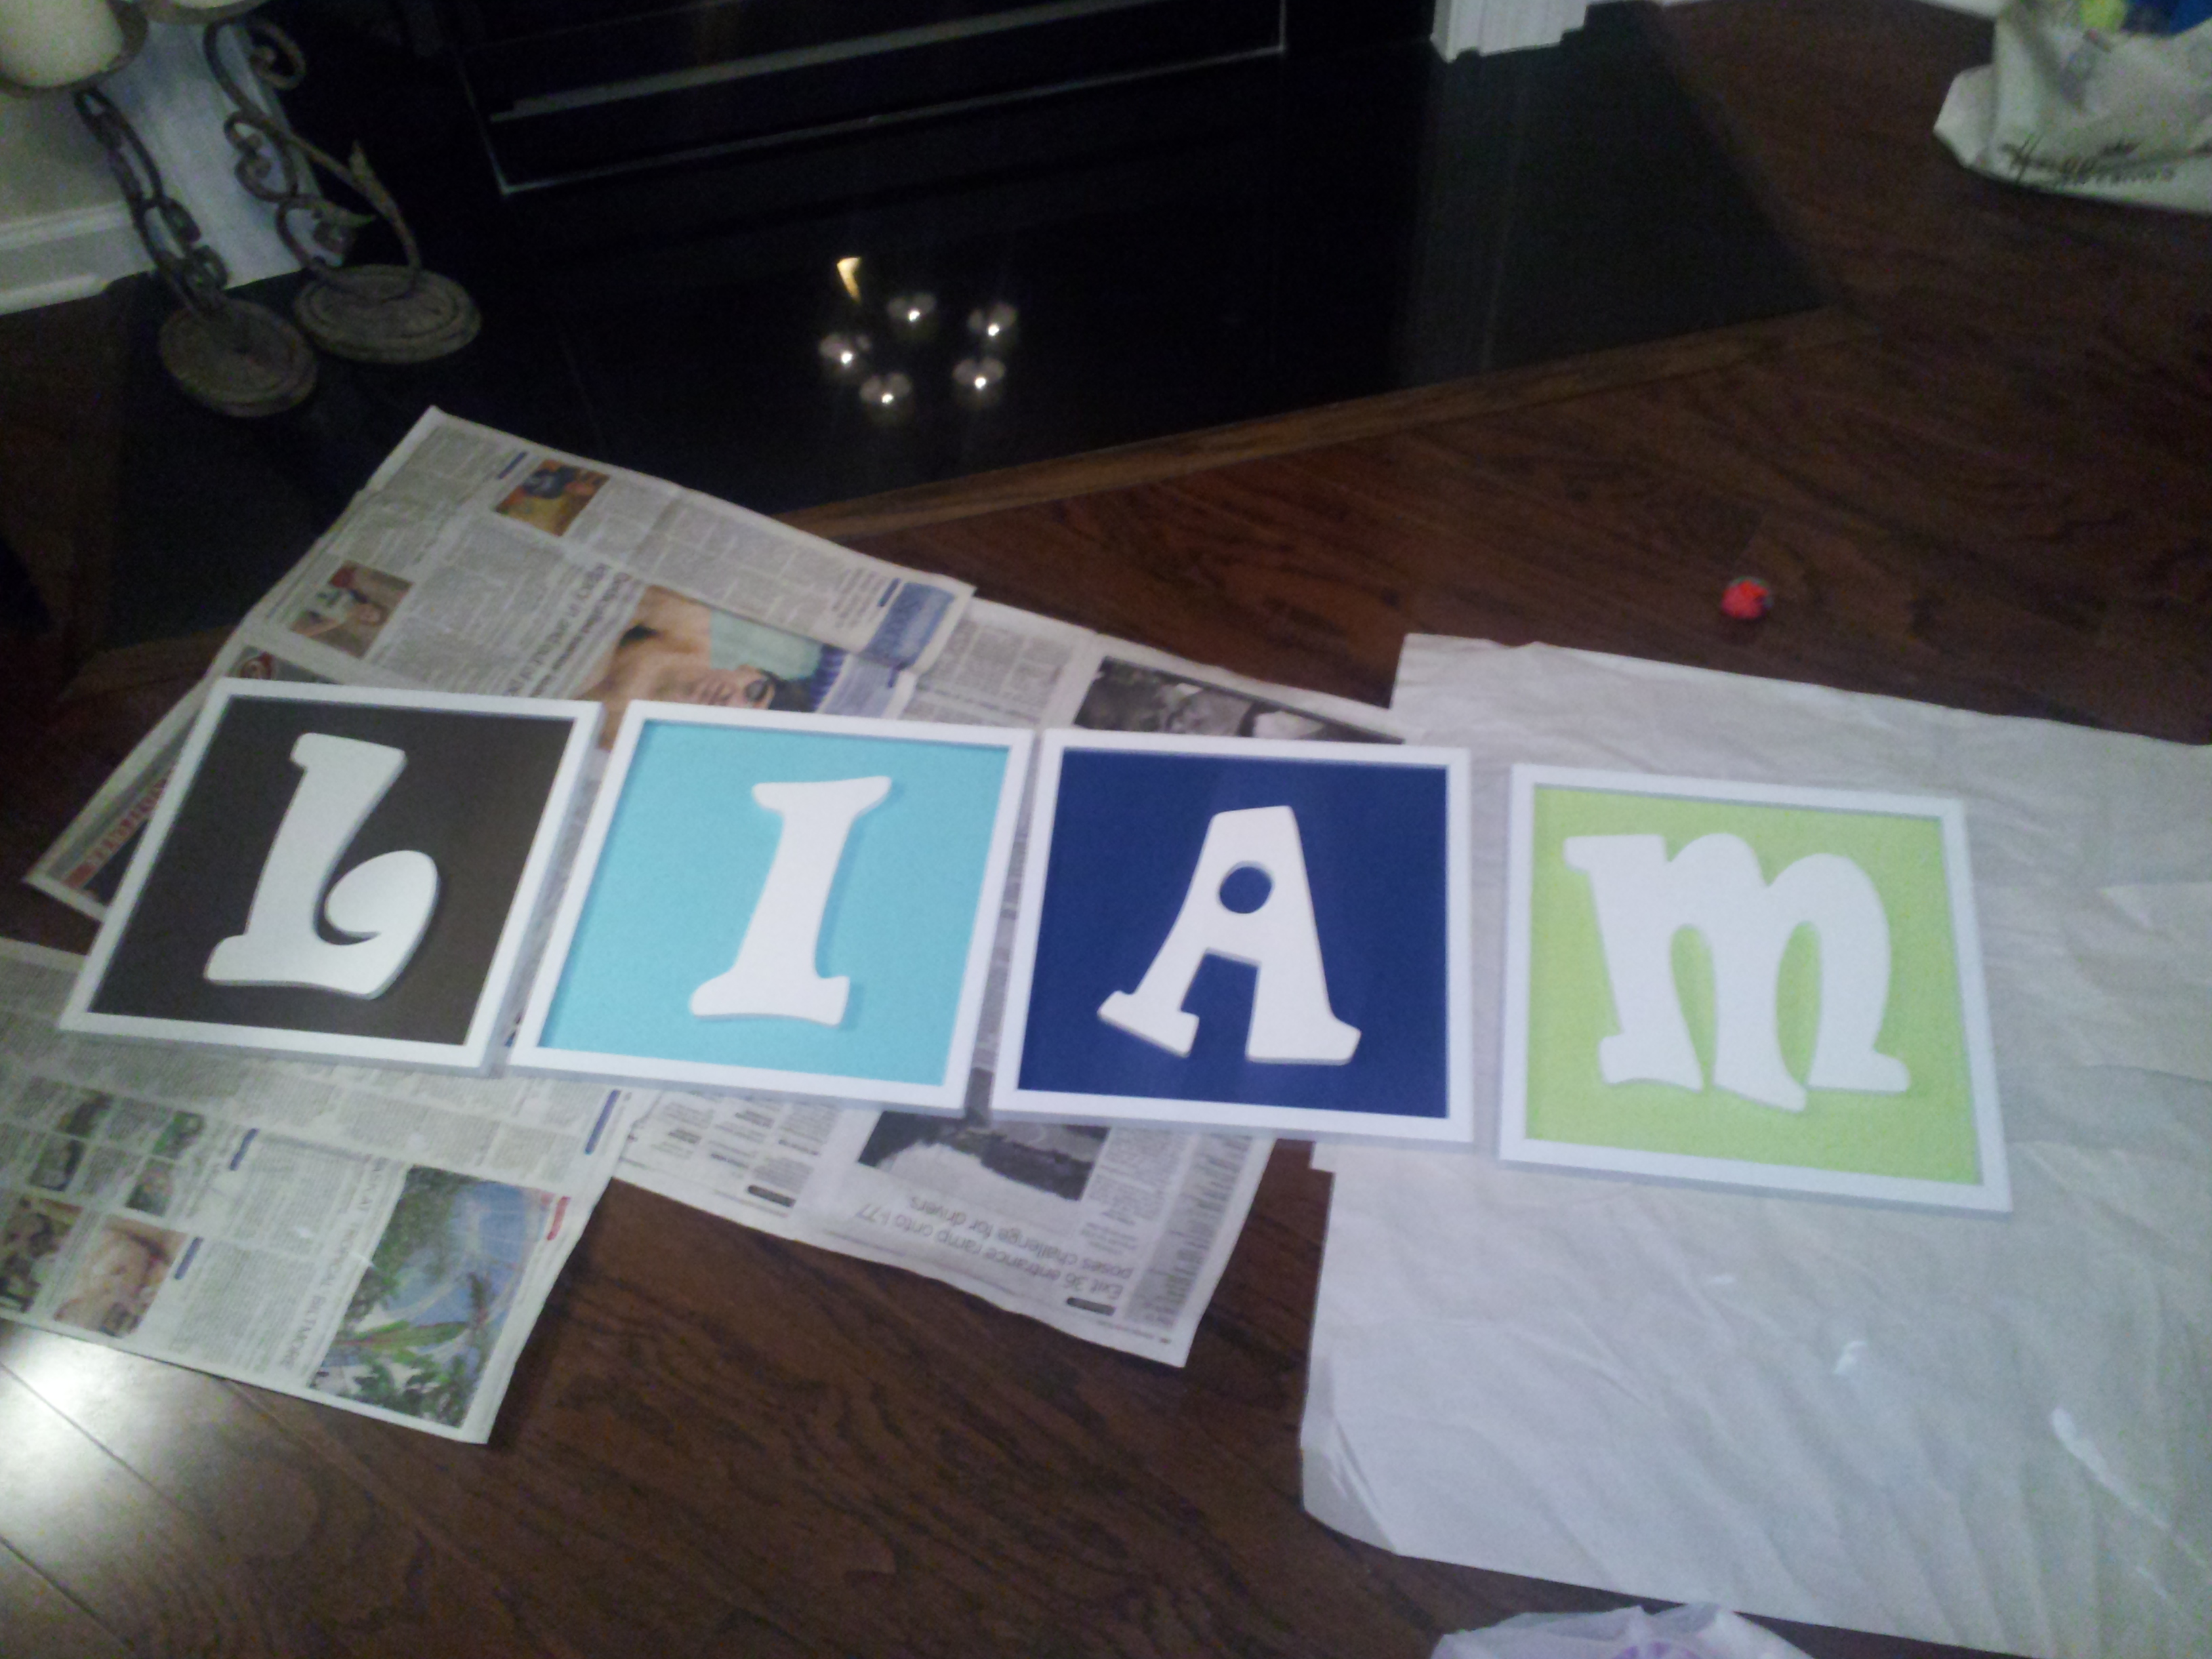
I’ve found so many pictures on Pinterest of cute nursery ideas and came across a picture of this letter-name-frame for Liam’s room. There was no tutorial, so I decided to make one. It’s super easy and you can vary the design to make it your own!

1. Frames: First find a frame for each letter – I used Hobby Lobby’s 12X12 black metal squares. Click the image to go to Hobby Lobby’s site for the frame. *It doesn’t matter if you get frames with mats for photos, you’re going to remove those anyway and only use the frame backing (the part with the hook for the wall/easel back).

1b. Find your letters – there are many places to find these (even online). Mine are (surprise!) from Hobby Lobby. I liked the “bubblesque” look they had, it wasn’t too girly like the swirl letters. Mine were also pre-finished white, no painting necessary, in my case! Just choose what fits your style & nursery theme.
2. Color your world: Decide what colors you want, both for the frame, letters, and the mat. We have white chair molding in Liam’s nursery, so I spray painted the frames white (2-3 coats is best). Make sure you disassemble them first: remove backing, CAREFULLY remove glass (you won’t need it).
$.50 – $.99 each!
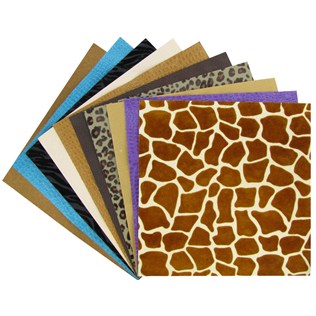
3. Paper: My favorite part of the project — because these are 12×12 frames, you can march your hiney down the HUMONGOUS scrapbook aisle (again at HL) and choose your colors. I chose solid matte “brushed”, or traditional, scrapbook paper for mine. You could even use printed paper!
4. Get sticky with it: Easy-peasy – no cutting or measuring required. Glue those pieces of scrapbook paper you chose right onto the backing of the frames (while still disassembled). Now, this is important: use a heavy duty glue that’s safe for crafting (i.e – E6000 or something similar). Here’s why: you’re going to glue the letters you picked out onto this surface so it needs to be securely glued to the frame backing. See below.

5. Letter time: give the scrapbook paper/frame backing a little while (~30 mins) to dry. Now you’re ready to glue the letters on. Before you get all permanent with it, play around with the order of colors or patterns to make sure you like it. I decided, having 2 dark and 2 light colors, that my pattern would be – dark brown, light blue, dark blue, light green. Play around centering your letters in the frame or if you’re truly OCD, you can measure (but I promise no one will be able to tell if you wing it!). Hey, you threw away that glass didn’t you? Just making sure you didn’t put the glass back in the frame – because it would look a little weird if you tried to glue your letters onto glass; if you are one of those “I could use this glass for something” hoarder kind of people, put it somewhere safe – that junk is sharp!
6. Instruct your significant other to commend you on how awesome you are. You could have bought this cute project on Etsy for probably $20 (or more) per letter frame – but no way José, using HL coupons (and benefiting from their constant craft supplies sales), you spent around $10 per letter frame (finished!)- AND you can tell everyone that sees the nursery about your Martha Stewart-like crafting skills.
VOILA!

Happy Crafting!
Hugs,
Jamie
